SEE THE FINISHED PIECE HERE
Timeline
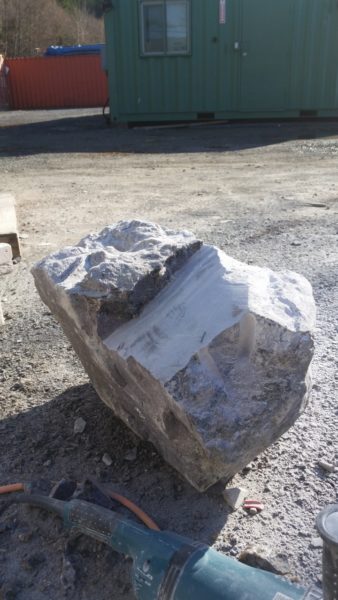
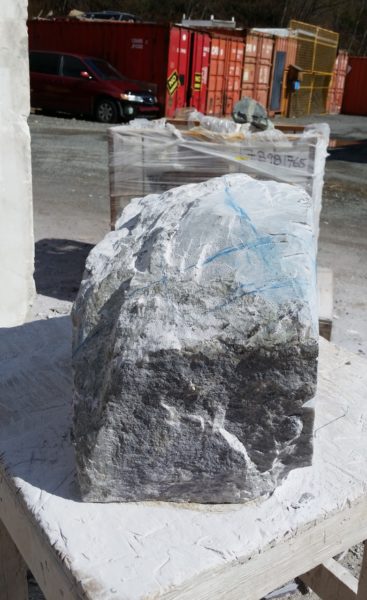
With this piece, the first thing I did was I actually cut and sanded a small portion of the stone to see what kind of stone it was. Then based on the different parameters such as stone type, color, size, ect, I decide what I am going to carve.
I was wanting to do another carving of a grizzly and after I noticed that this particular stone was brown alabaster I figured it would be perfect for a grizzly.
Next I will decide what is the most effective way to utilize the stone to do the carving. Once that is determined I will cut a flat base which will be the bottom. I have learned over time that this stage is crucial. Doing a nice flat cut in the beginning will make sure all 4 legs of the bear will be firmly planted on the ground and will make the piece nice and stable in the end.
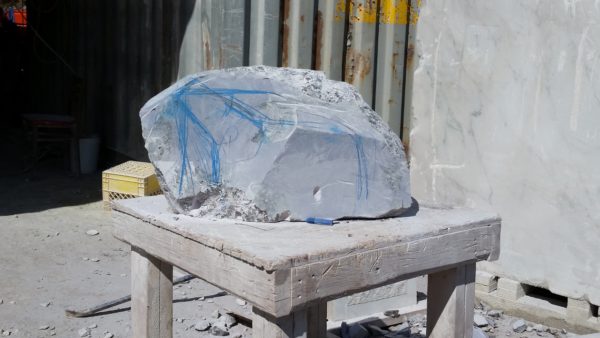
I will often use a wax pencil to rough out a basic drawing of the pose. This is just a general guideline to get things started and to begin to get the size of the bear in place.
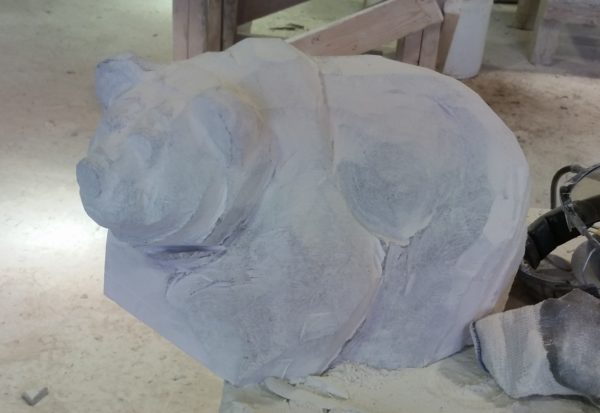

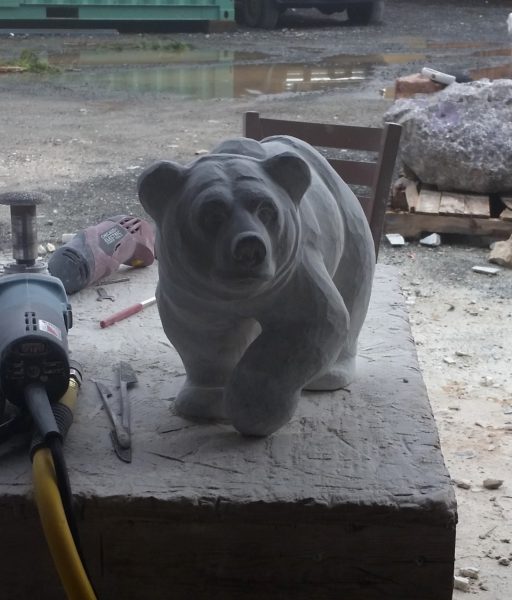
Alright so here now I am starting to bring the shape out. With this guy and what I will do often is I will start to establish the face right away. I find the face can sometimes be the most intricate so I like to get started on this right away and start to lock it in. Once I have that in place, I can use it as a way to measure the ratios and proportions of the rest of the body.
Also during these early stages I am identifying any problem areas in the stone which would require me to alter the design. A problem area is like for instance a crack or fault that might end up breaking away later on.
Often the most fragile parts of the stone is the outer edges where once you start getting into the core of the stone its allot more stable.

A Bear Emerges!
This is such a cool phase of the carving process where you start to see the character of the animal emerge. Here you can already start to see this guy coming out even after only a few cuts. At this stage I am working mostly with a 5″ diamond blade on a hand held grinder. This allows me to carve fairly quickly. I will explore different approaches to carving a piece where sometimes I move quickly and sometimes I will slow myself down quite a bit. This is to see the overall affect that this creates in the final piece. Whether moving fast or slow, I try and remain comfortable and natural in my movements.
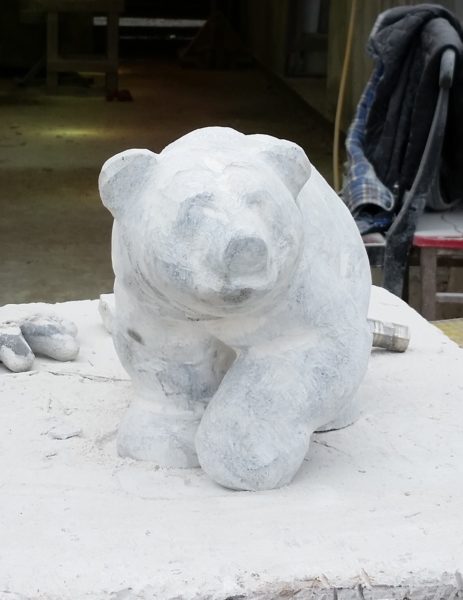
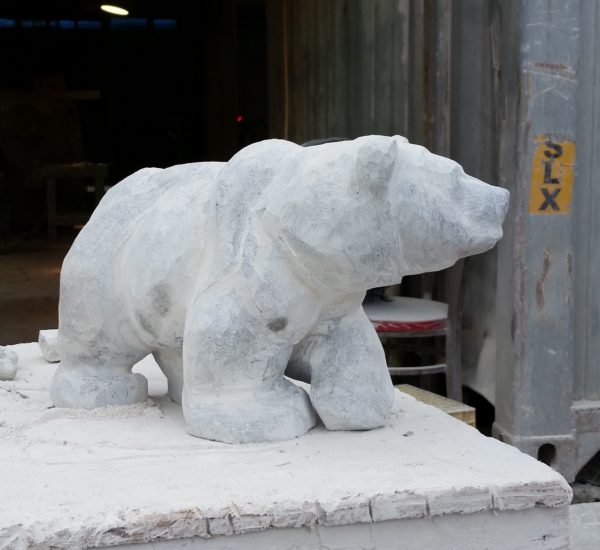
Okay I have the overall shape pretty much locked in. Now its just a matter of refining some areas before I get into polishing.
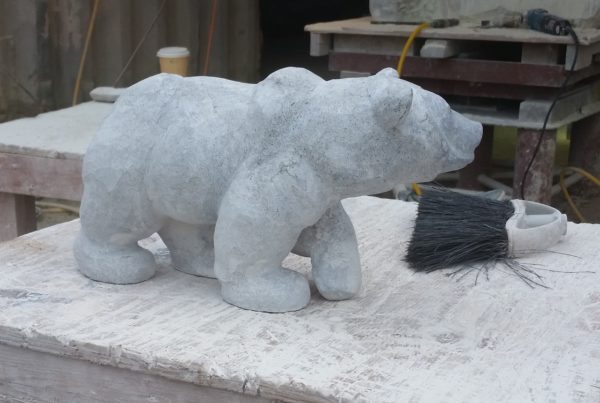

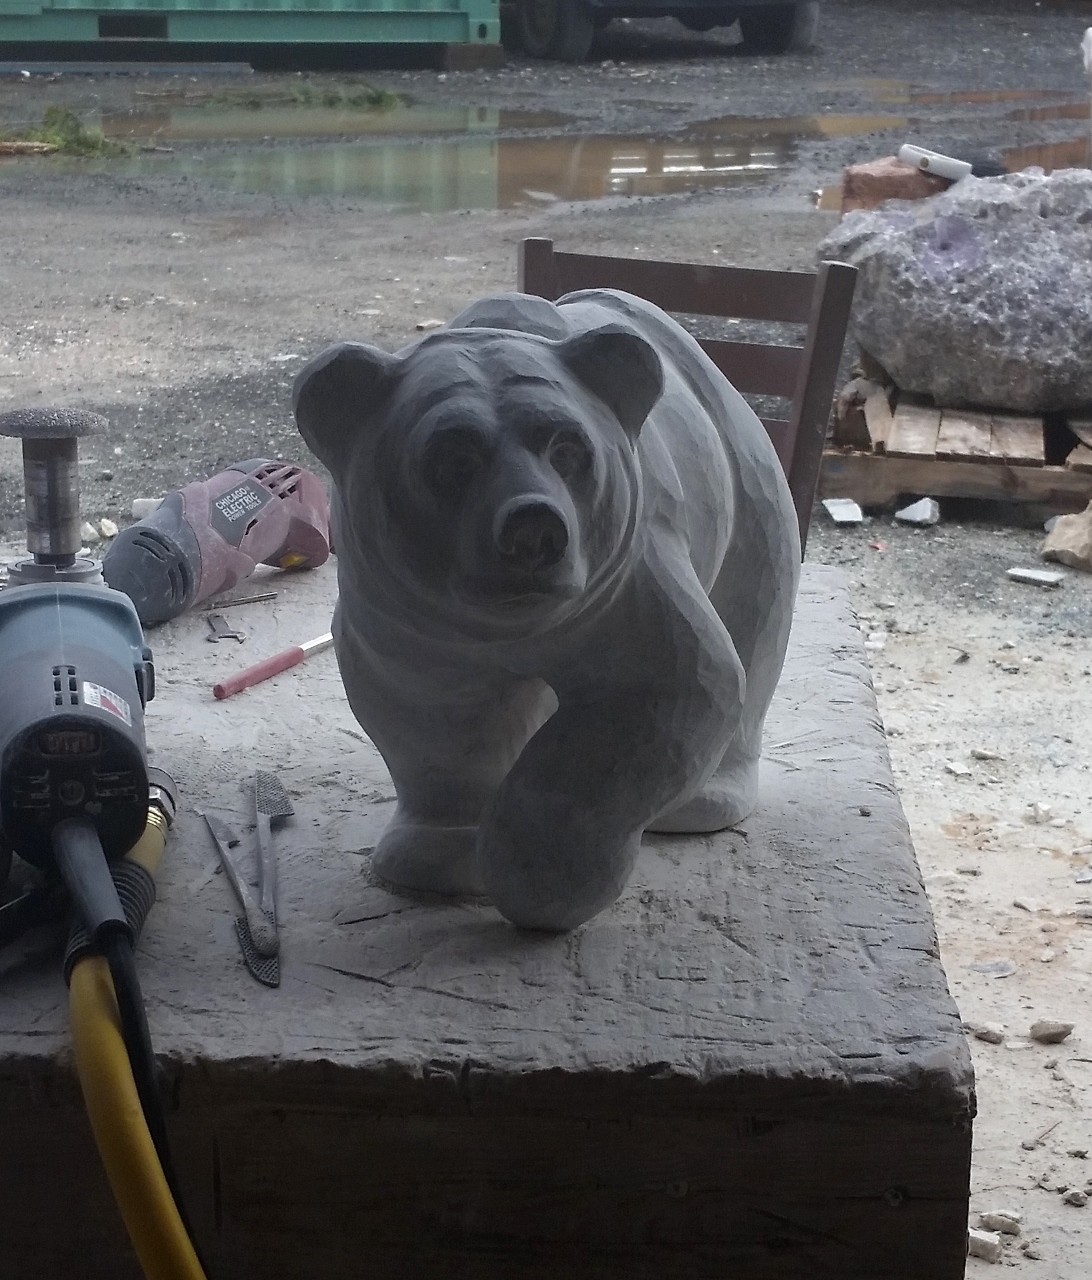
Okay getting close now. I have the muscle definition pretty much where I want it and rounded off the feet. Next step is about 4 or 5 layers of sanding and polishing and then a coat of sealer and wax to shine and protect it.
The final step before polishing is usually the nose, the eyes, and the mouth. I decided to keep the feet relatively simple for this guy.
Done!
Looks Great.
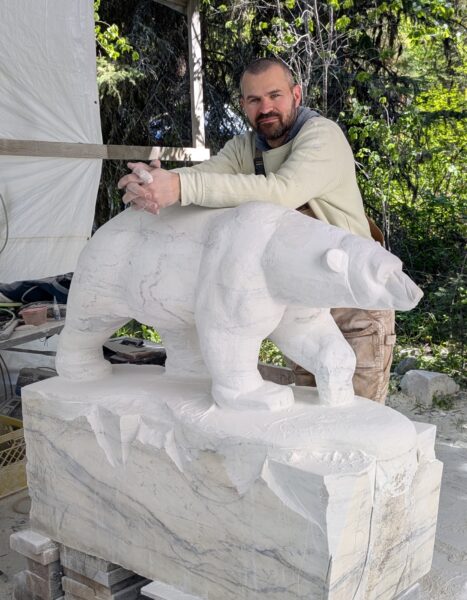
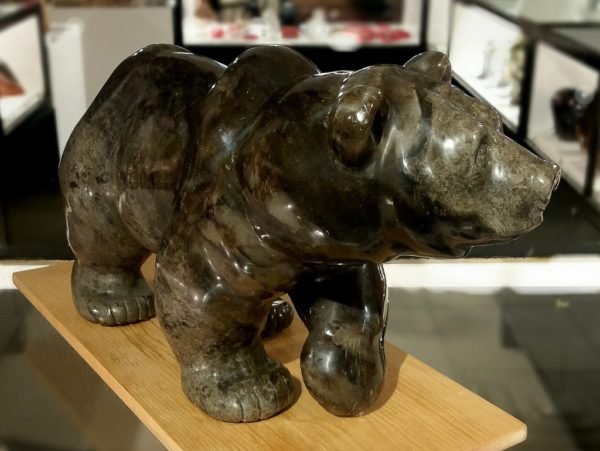
Sanded, Polished and in the gallery. Really loved the patterning and coloration in the stone for this one. It kind of reminds me of pebbles or rocks or stones so thought this suited the rugged Grizzly Bear perfectly.
See you next time.
SEE THE FULL PICTURE INVENTORY OF THE FINISHED PIECE HERE